
How to Make Cold Process Soap
Are you intrigued by the idea of making your soap?
Cold-process soap is a fantastic choice if you've ever wanted to create something unique and personal.
This traditional method allows you full control over your soap's ingredients, scents, and colours.
Let's explore how you can start this creative journey and how the Craft and Social Development Organization (CSDO) can help you master soap-making.
What is Cold Process Soap Making?
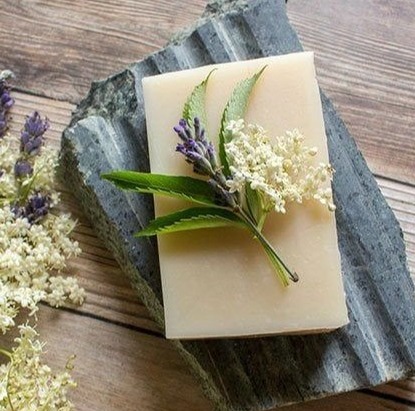
Cold-process soap making involves creating soap from scratch using oils, lye (sodium hydroxide), and water. This method stands out because it retains the natural glycerin in the soap, making it exceptionally moisturizing. It's perfect for those wishing to customise soap to the last ingredient.
Benefits of Making Your Soap
When you make your soap, you:
- Ensure all-natural ingredients: Say goodbye to harsh chemicals! You choose what goes into your product.
- Tailor it to your needs: You can customize the soap's properties by selecting specific oils and additives based on your skin type.
- Reduce environmental impact: Homemade soap lacks the plastic packaging of commercial products.
- Enjoy the Process: Creating something by hand provides a fulfilling sense of accomplishment.
Basic Materials You Need
To begin, gather the following:
- Safety gear: Gloves, goggles, and protective clothing.
- Lye: Essential for the soap-making reaction.
- Water: Acts as a solvent for the lye.
- Oils: Oils like coconut, olive, or almond serve as the base.
- Essential oils and colourants: For fragrance and colour (optional).
- A mould: To shape your soap.
The soap-making Process
Here's a simple guide to what making cold process soap involves:
Prepare Your Workspace
Ensure your area is clean, ventilated, and free of any distractions. Safety first!
Suit Up
Wear your gloves and goggles to protect yourself from the caustic lye.
Mix the Lye and Water Slowly add the lye to the water (never water to lye) in a well-ventilated area and let it cool. Be careful—the reaction is exothermic and can release fumes.
Heat the Oils Heat your oils in a separate container until they reach the same temperature as the lye solution.
Blend the Lye Solution and Oils Once both mixtures are at approximately the same temperature, slowly pour the lye solution into the oils while stirring continuously.
Reach Trace Use a stick blender to mix until the soap batter thickens like pudding. This stage is called "trace" and indicates that the mixture is ready to pour.
Add Extrasblo Now's the time to add any scents or colours. Mix them in thoroughly.
Pour into Molds Carefully pour your soap batter into the mould. Tap it gently to remove any air bubbles.
Cure Cover the soap to keep it warm, and after 24-48 hours, unmold and cut it into bars. The soap must cure for 4-6 weeks to complete saponification and allow water to evaporate.
Learn with CSDO
At CSDO, we offer comprehensive soap-making courses that guide you through every step of the Process. Our expert instructors provide personalized attention, ensuring you learn the basics and advanced techniques in soap crafting. Whether you're a beginner eager to make your first batch or an experienced crafter looking to refine your skills, CSDO's courses are designed to empower you.
By joining our soap-making course, you'll gain:
- Hands-on experience: Practical sessions that help you learn by doing.
- Deep understanding: Knowledge of the chemistry behind soap making.
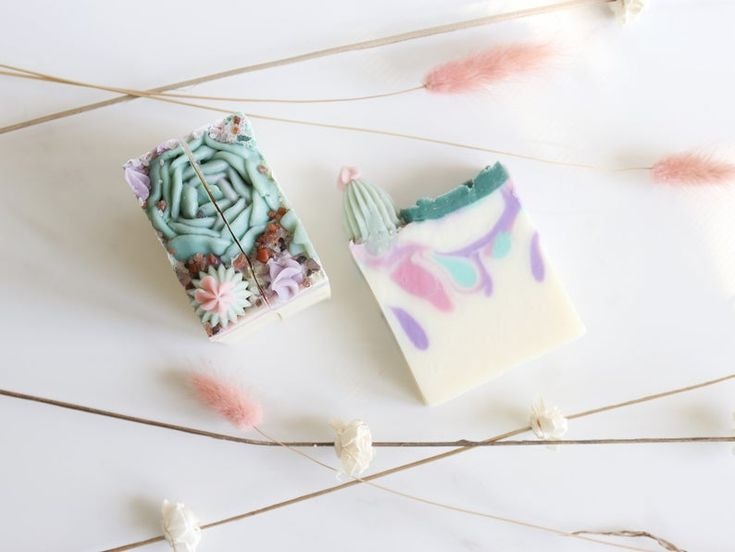
- Creative expression: Guidance in designing unique recipes and artistic designs.
Visit us at CSDO and discover the joys and benefits of handcrafting your soap. You will create something beautiful and functional and join a community of like-minded crafters passionate about making a difference—one bar of soap at a time.
Join us today and turn your soap-making dreams into delightful realities!