
How to Make Handmade Soap: A Beginner's Guide by CSDO
Are you interested in learning how to create your handmade soaps? Soap-making can be fulfilling and creative if you're looking to develop a new hobby, start a business, or make gifts for friends and family. At CSDO, we specialize in teaching beginners how to master the art of soap making. Here's a step-by-step guide that will help you get started, even without experience.
Step 1: Understand the Basics
The first step in your soap-making journey is understanding the basic Process. Soap is made through saponification, where fats and oils are mixed with alkali (usually lye). This reaction forms soap and glycerin. At CSDO, we emphasize safety first, especially when handling lye, as it is caustic and can cause burns if not used correctly.
Step 2: Gather Your Materials
To make soap at home, you will need some essential materials and tools:
- Oils (such as olive oil, coconut oil, or palm oil)
- Lye (sodium hydroxide)
- Water
- A heat-resistant container for mixing lye and water
- A large stainless-steel pot for melting fats and oils
- A thermometer
- Moulds
- Protective gear (gloves, goggles, and long sleeves)
Step 3: Choose Your Method
There are two main soap-making methods: cold Process and melt-and-pour. The cold Process involves mixing lye with water, adding it to oils, and then adding fragrance and colour. This method allows for complete customization of ingredients but requires curing time for the soap to be fully saponified and safe for use. The melt-and-pour method is simpler, using pre-made soap bases that you melt, customize with colour and fragrance, and then pour into moulds.
Step 4: Mixing Your Ingredients
At CSDO, we guide you through the detailed steps of mixing your ingredients. For the cold Process:
- Carefully mix water and lye in a heat-resistant container.
- Melt your chosen oils in a stainless-steel pot.
- Once both mixtures reach a similar temperature (around 100-110°F), slowly pour the lye solution into the oils.
- Blend using a stick blender until the mixture reaches 'trace' (when it thickens like pudding).
Step 5: Customize Your Soap
Here, you can get creative! Add colours, fragrances, or exfoliants like oatmeal or coffee grounds. Pour the soap batter into moulds, cover with plastic wrap, and insulate with towels.
Step 6: Curing
Curing is crucial for cold-processing soap. It takes 4-6 weeks for the soap to saponify and harden fully. Keep it in a cool, dry place out of direct sunlight during this time.
Step 7: Unmold and Cut
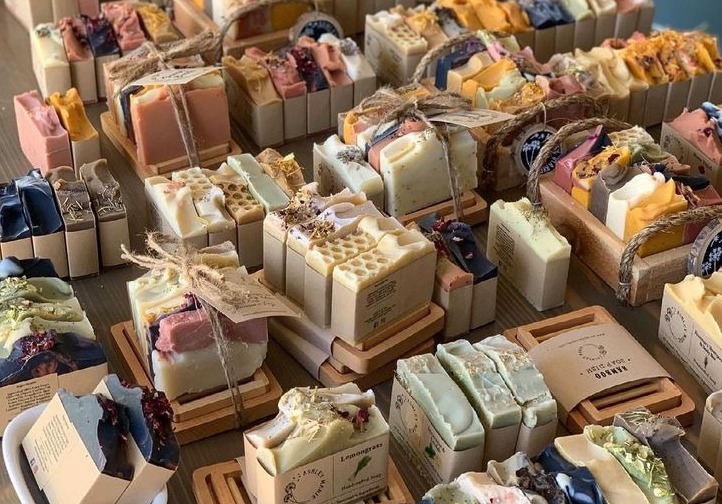
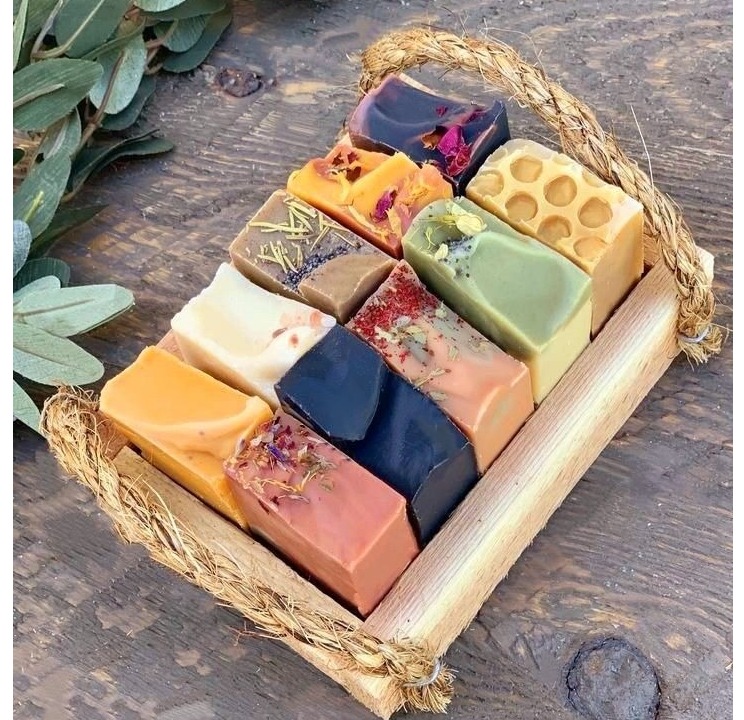
Once cured, remove the soap from the moulds and cut it into bars. The soap is now ready to use, gift, or sell!
Why Learn with CSDO?
At CSDO, we are committed to providing high-quality education in soap making. Our courses are designed to help beginners feel confident and become skilled soap makers. We provide detailed instruction, practical tips, and ongoing support to ensure your soap-making journey is successful and enjoyable. Whether you're looking to start a new hobby or a home-based business, soap-making offers a unique blend of creativity and practicality. Join us at CSDO to learn how to create beautiful, high-quality soaps from scratch.
Start your soap-making adventure today!